
Almost every diver who brings a GoPro to the Gilis comes back with the same problem: the reef looked vivid at 15 metres, and the footage looks flat, blue-green, and nothing like what they saw. That’s not a bad camera — it’s three settings left on their defaults, and a couple of habits that are easy to fix before your next dive.
The settings to change before you get in
Short answer
Set white balance manually once you're at depth rather than leaving it on auto, add a red or magenta dive filter below about 5 metres, and shoot at the highest frame rate your camera offers (60fps at minimum) even if you don't plan to slow the footage down — it gives you far more to work with when editing.
Water absorbs colour by wavelength, and red goes first — most of it is gone by 5 metres, orange follows by around 10 metres. That’s the actual cause of the “everything is blue-green” look, not the camera. A dive filter (magenta for blue water, red for the greener water you sometimes get after rain run-off) restores what depth strips out, but only within its intended depth range — most are tuned for roughly 5-40 metres, so pull it off entirely in the shallows or on the surface interval, where it will just tint everything pink.
Auto white balance fights the filter and the changing light constantly, so lock it manually once you’ve settled at your working depth — most action cams have an underwater or manual white balance mode buried in the settings menu, not just a “underwater” scene filter. Re-set it if you move more than a few metres up or down; the correction that looks right at 12 metres will look wrong at 20.
On frame rate: 60fps (or higher) gives you the option to slow footage down for smooth slow-motion later, and it also handles the small camera shake of mid-water buoyancy better than 24-30fps, which can look juddery once you’re not perfectly still. Shoot at your camera’s native resolution rather than a cropped “performance” mode — cropping usually narrows the field of view exactly when you want the widest possible shot of a reef scene or a manta gliding past.
Composition habits that separate usable footage from noise
Short answer
Get closer than feels natural — water eats detail and colour with every metre of distance, so proximity matters more than zoom. Shoot upward toward the surface light rather than flat or downward, and include a diver or a piece of reef in the foreground for scale and depth instead of filming a subject in isolation.
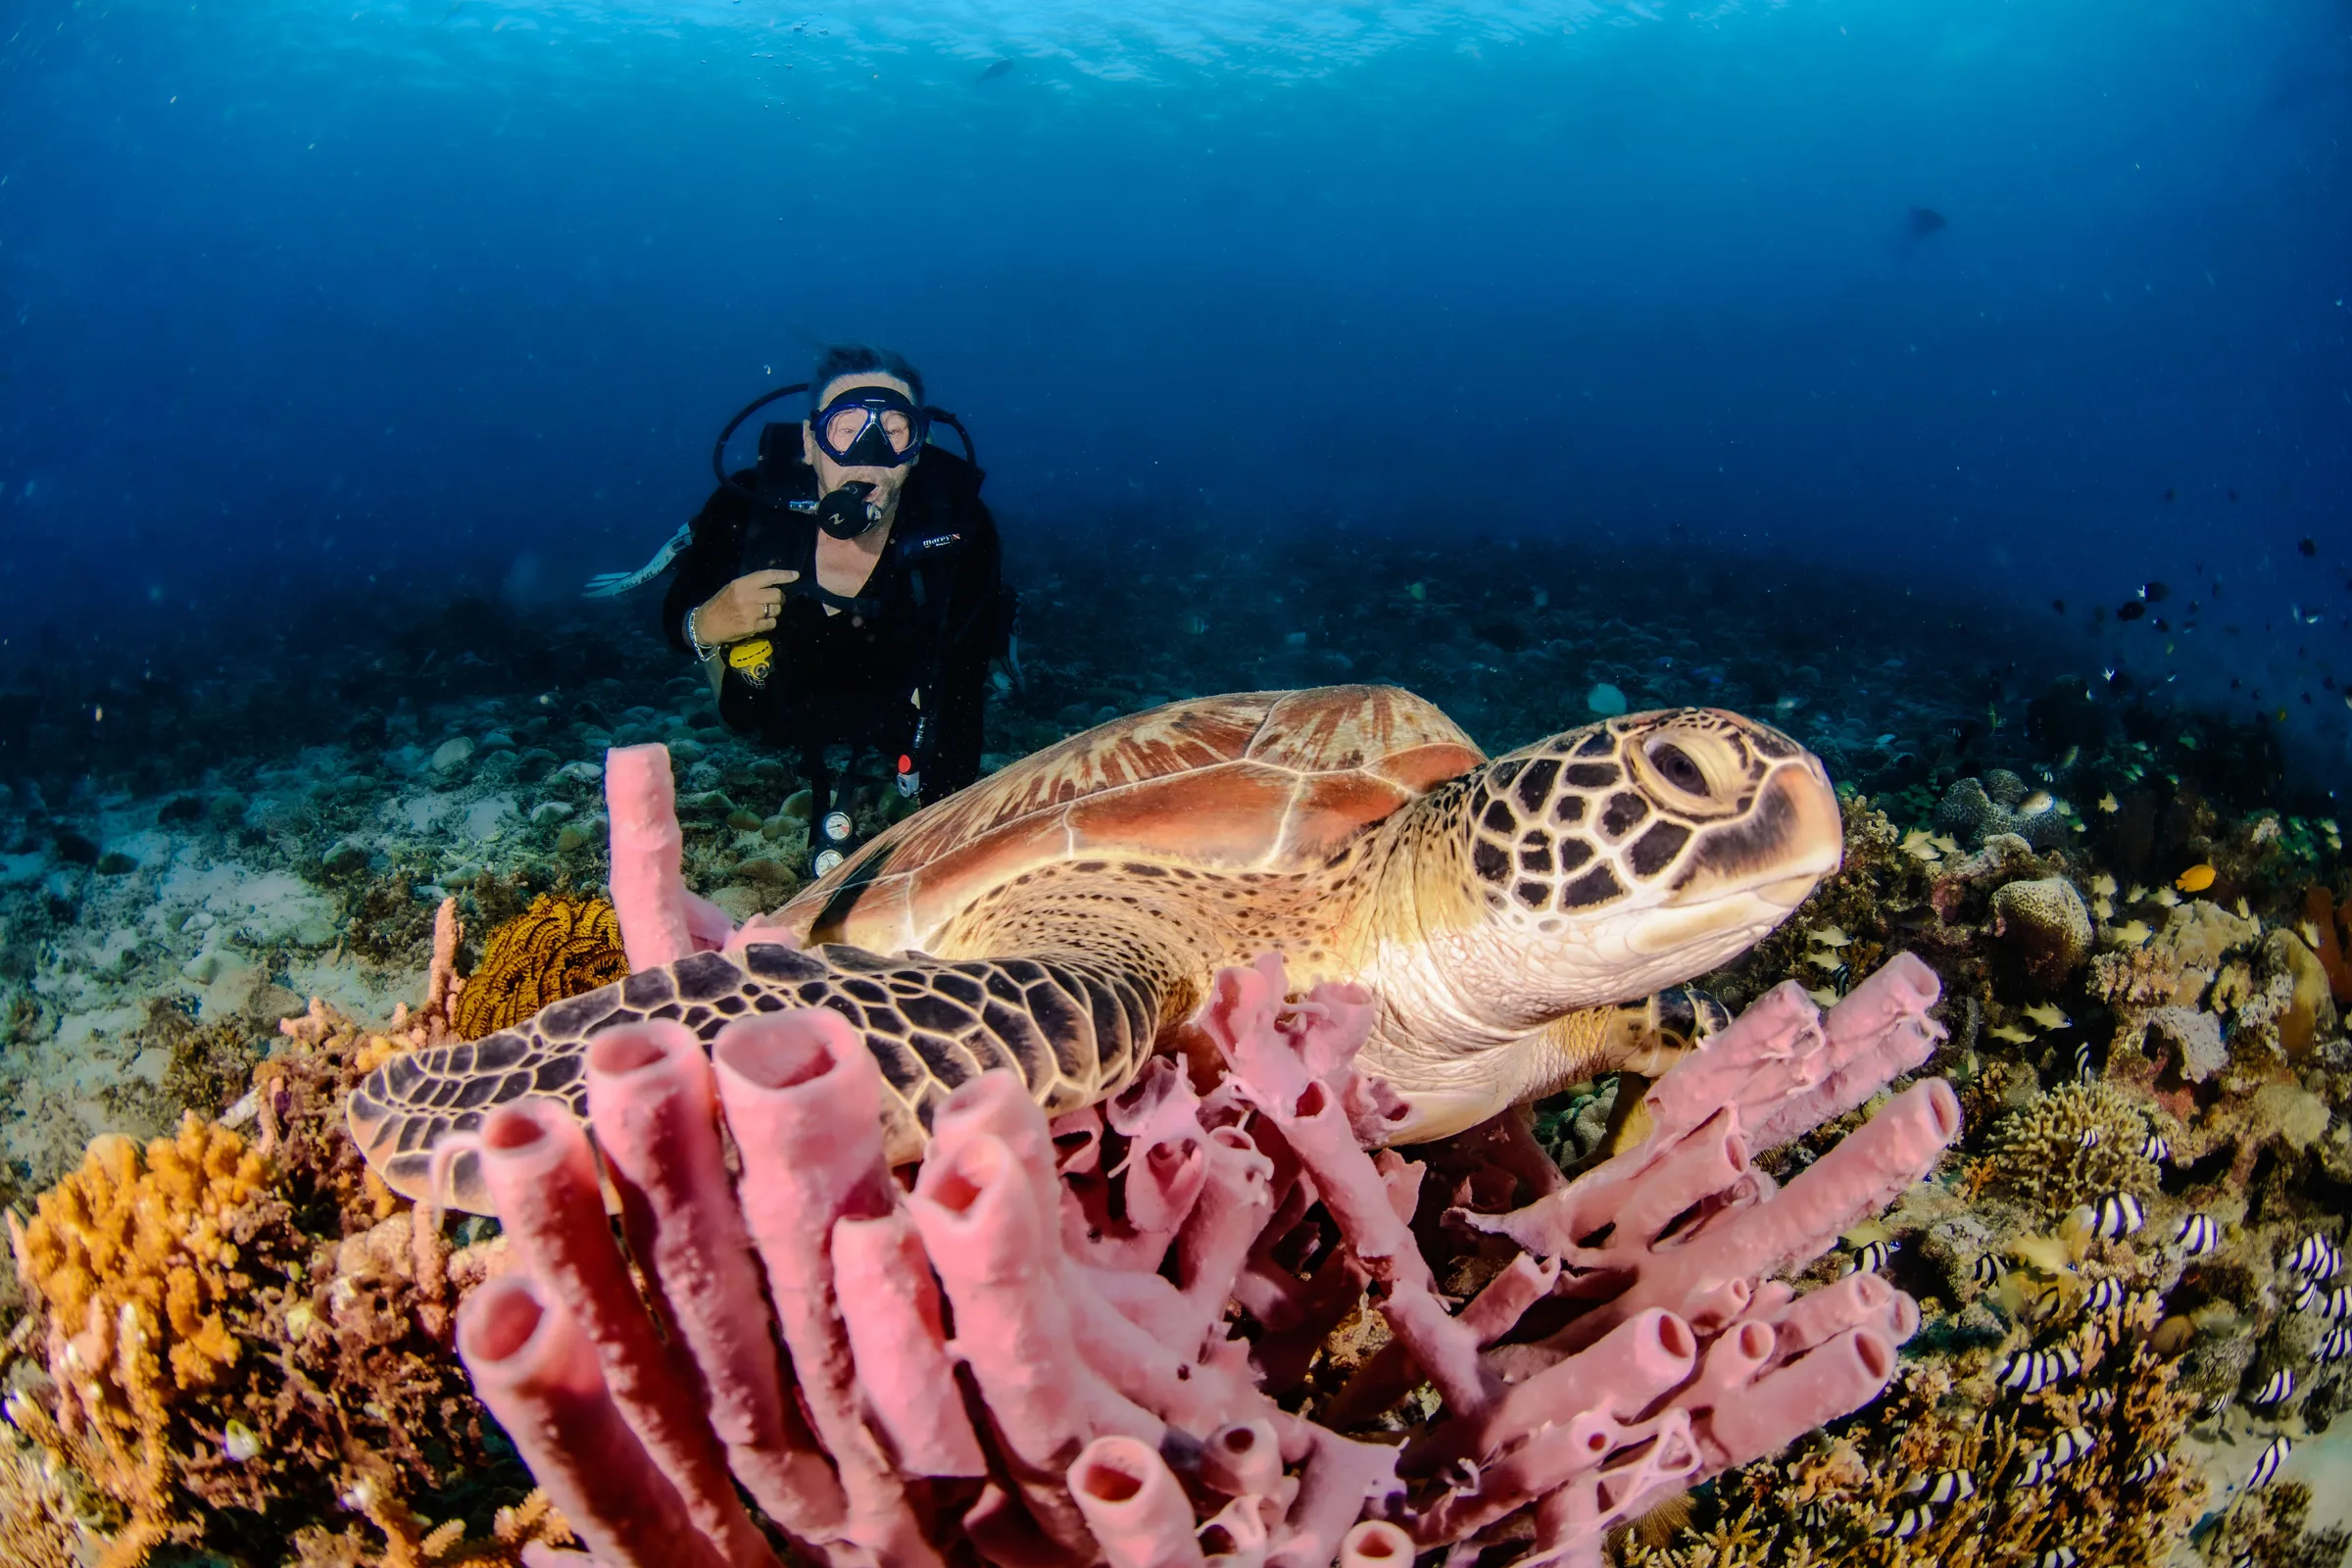
The single biggest jump in footage quality has nothing to do with settings: it’s getting physically closer to the subject. A turtle that fills a third of the frame from two metres away looks completely different from the same turtle shot from six metres — sharper, richer colour, actual texture on the shell instead of a green-tinted blob. This is why wide-angle housings and dome ports exist for serious rigs, but even on a GoPro’s fixed wide lens, closing the distance does more for the shot than any setting.
Shooting up toward the surface — angling the camera so the sun or the bright water column is behind your subject — turns flat, grey footage into something with actual depth and mood, especially over sandy bottoms like the approach to Sunset Point or the open water around Turtle Heaven. Shooting flat or downward toward the sand tends to produce the murky, contrast-less footage most people associate with “bad” GoPro clips.
A diver, a fin, or a chunk of foreground coral in frame gives viewers scale and something to anchor to — footage of a fish alone in blue water reads as smaller and less interesting than the same fish with a diver’s silhouette or a coral bommie in the corner.
The mistakes that ruin more footage than bad gear does
Short answer
Backscatter from lights aimed straight at loose sand or silt, footage shot from too far away, and a camera that isn't secured to you are the three things that wreck the most clips — all three are avoidable with habits, not equipment upgrades.
Backscatter — the field of bright specks that ruins a shot — comes mostly from firing a light source (built-in or external) straight along the camera’s line of sight over sand or silt. Angling a light from the side, or simply not using one in clear water where the sun does the job, cuts backscatter more than any editing trick after the fact. It’s also why kicking up sediment near the bottom is worth avoiding for reasons beyond footage: it settles slowly and ruins the shot for the next diver too.
Distance is the second repeat offender, covered above — but it’s worth naming as a mistake on its own, because the instinct in open water is to hover back and take in the whole scene. Get closer than feels comfortable; you can always crop out afterward, but you can’t add back detail the water already absorbed.
And simply — secure the camera. A wrist mount, a lanyard, or a proper tray keeps a GoPro from becoming a very expensive thing you watch drift into the blue on a mild current day. It also frees both hands for buoyancy control, which matters more to steady footage than any stabilisation setting: a diver in good trim shooting handheld will out-perform a perfectly stabilised camera being kicked around by bad buoyancy.
Bring your own action cam on any fun dive package — our guides are used to divers filming as they go and will happily point out a good angle on a passing turtle or a resting shark. If you’d rather have someone else handle the camera entirely, our underwater photographers page covers that option too.